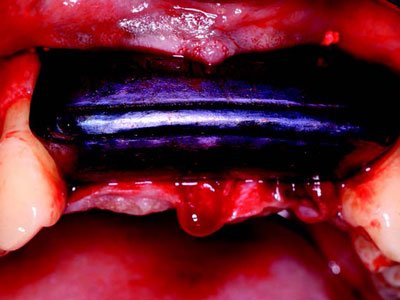
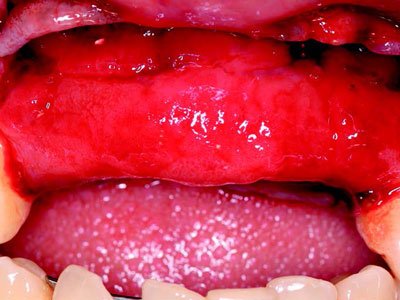
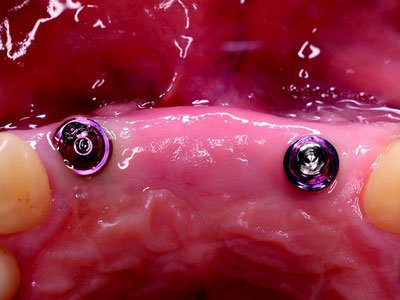
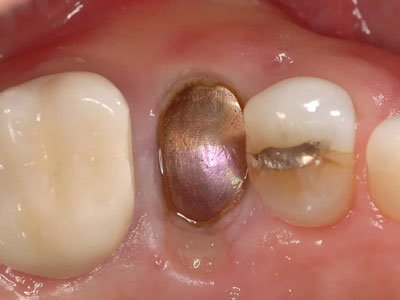
The content of osteophoenix.com is reserved for professionals in the healthcare sector. In accordance with current regulations, I declare under my responsibility to be a professional in the dental sector and therefore I am authorized to view the content of this website.
Our website uses cookies, so you can visit our website and enjoy its features. Some cookies are strictly necessary for the management of the website and cannot be disabled, others help us to improve the user experience. You can accept these unnecessary cookies by setting them individually.
You can configure and accept the use of cookies below.
You can also change your consent choices at any time by visiting our
Política de cookies
1. Initial clinical condition due to loss of an implant.
2. Initial tomographic status, note horizontal bone loss.
3. Bone loss, clinical status.
4. Placement of the clot.
5. Barrier placement to protect the clot and isolate it from the environment.
6. Clinical situation 6 weeks later.
7. Removal of the barrier 4 months later, note the situation of the highly vascularized immature osteoid.
8. Situation 5 months after removal of the barrier.
9. Implant placement and sampling with trephine.
10. Histological sample showing the horizontal formation of the bone (line delimiting the neoformation) where the cellularization and vascularization of the newly formed bone can be seen (left zone).
11. Tomography of the newly formed bone.
12. Implant planning.
13. Implant placement.
14. Control 4 months later, healing abutment.
15. Tomography of the implant placed.
16. Rehabilitation of the implant with individual sleeve .